I thought I would post my process for creating a Woody. This is the final for Woody 177
This Woody is available as a fine art print on my website.
This Woody is available as a fine art print on my website.

This is the original photo cropped to what I think will work for a Woody


Next I duplicate the layer


Using the move tool I place the duplicated layer next to the original to make a symmetrical image. I looked for a Woody in the image and decided to flip it 180 degrees.


I place the first eye using a layer mask and then adjust the color using the brush tool in color mode.

After I am happy with the placement and the layer mask I duplicate the eye, free transform and flip horizontally. Then I use the move tool to place the eye in the other socket. I didn't like how the highlight was in the wrong place so I copied the eyeball on the right eye and pasted it over the left one so the lighting would be correct.

I did a curves adjustment to darken in the edges and to create some shadows and depth.
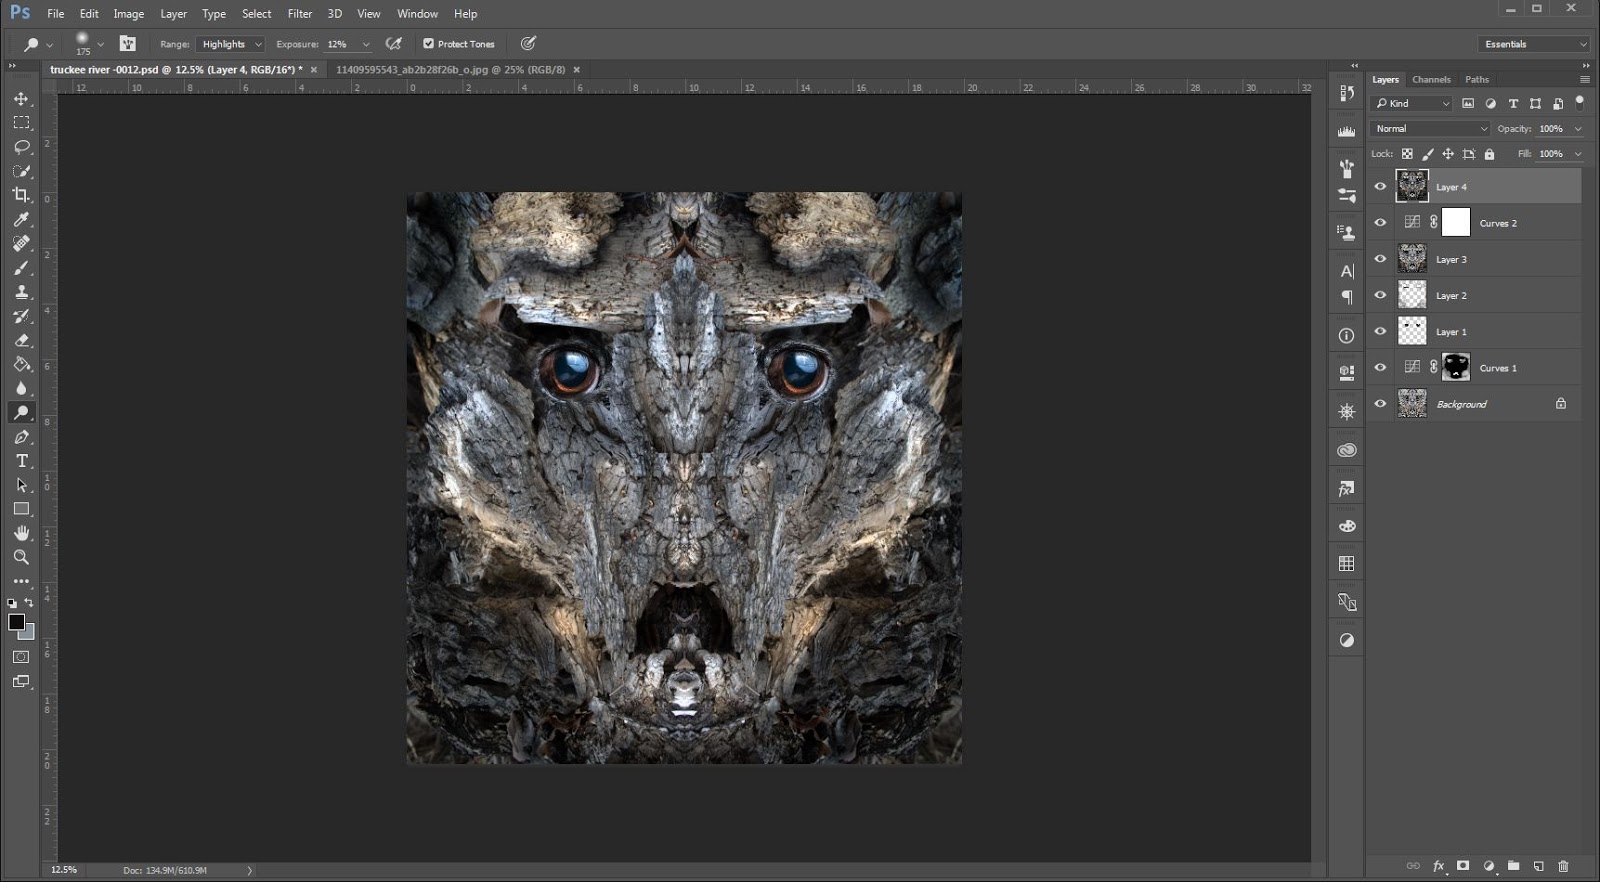
Next I did some selective dodging and burning to create even more depth.

Here I did a little more tweaking with an HDR image adjustment and then used a layer mask to control what showed.

I did the final adjustments in Lightroom and we have Woody 177 finished.
No comments:
Post a Comment